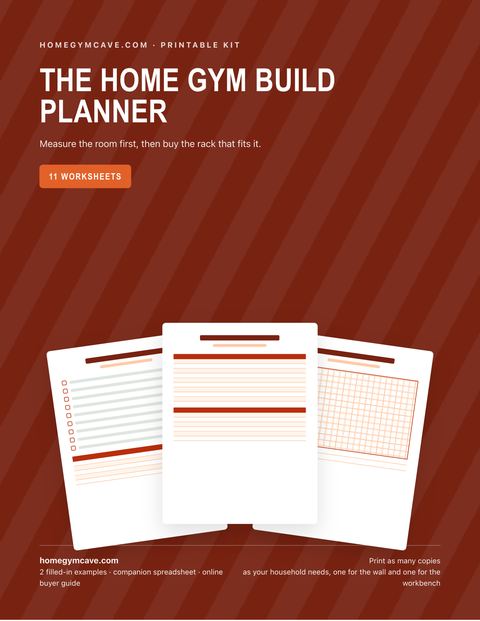
Build a home gym that fits your space
Ceiling height rules out more home gyms than budget does, and almost nobody measures it before the rack is delivered. Start with the numbers for your actual room, then pick the equipment that fits it: complete builds at three budgets, rack specs by model, and the lookup charts that answer a dimension question without making you read an article first.
- 86.6 in
- Olympic bar length Sets the 108 in of clear width every barbell lift needs
- +2 in
- Rack clearance Ceiling needed is rack height plus about two inches
- +14 in
- Pull-up headroom Your standing height plus roughly fourteen inches
- 3/4 in
- Stall mat standard The default drop protection over a concrete slab
Start with your room, not with a rack
Every calculator here answers a question you can only answer with a tape measure, and every one of them is free with nothing to sign up for. There are 6 of them.
- Barbell Plate Loading CalculatorFree barbell plate loading calculator: per side plates for any target in lb or kg, plus bar loading charts for a 45 lb and a 20 kg... Open →
- Ceiling Height Calculator for a Home GymFree ceiling height calculator for a home gym. Enter your height and ceiling height to see which lifts fit, from overhead press and... Open →
- Gym Flooring Square Footage CalculatorFree gym flooring calculator. Enter your room or rack area to get square footage, number of stall mats, tiles or rolls needed... Open →
- Home Gym Cost CalculatorHow much does a home gym cost? Under $500 on a budget, under $1,500 for the setup most people keep, and under $6,000 fully... Open →
- Home Gym Space PlannerFree home gym space planner. Enter your room size and equipment list to see square footage used, square footage left, and whether a... Open →
- One Rep Max Calculator, Epley and BrzyckiFree one rep max calculator using the Epley and Brzycki formulas. Enter weight and reps for an estimated 1RM plus a full training... Open →
Three complete builds, nothing left off the list
A complete build means every item needed to train safely on the day it arrives, including the collars, floor protection and anchoring hardware that most budgets quietly leave off. That omission is why so many published home gym costs come in 20 to 30 percent low. The beginner build comes in under $1,000, the intermediate build under $2,000, and the expert build under $5,000.
Compare all three side by side, with a full cost table, the ceiling height and floor space each one needs, and who should not buy the expert tier.
The four items that appear in every build
Whatever the budget, four purchases have no cheaper correct answer and no upgrade worth paying for. They come to under $400 together and they are the four most commonly skipped lines in a first build.
Even the budget bar at under $100 uses 50 mm sleeves, so your plates and rack still fit it in five years. A 1 inch standard bar is the one false economy that makes every later purchase harder.
Three quarter inch rubber at roughly 100 lb a mat. A pair of stall mats is the correct answer at under $1,000 and at over $2,500 alike, which is why flooring barely moves between the tiers.
Spring collars stop a plate sliding off one side while you are under the bar. The cheapest safety item in the room at every budget, and the one most often forgotten.
Half inch wedge anchors are the common slab specification. Embedment depth, not bolt length, carries the load, and the rack manufacturer's instructions govern. See the anchoring guide.
Spec charts and rack data
Lookup tables rather than articles. Bar dimensions, plate weights and diameters, rack heights and the ceiling each needs, flooring thickness by use, upright hole spacing and gauge, and the ceiling height each exercise actually requires. Per-model rack specs live on the rack pages.
- Barbell Specs Chart: Length, Weight and Diameter by Bar TypeBarbell specifications chart: men's, women's, technique, powerlifting and standard 1 inch bars, plus specialty bars, with length... Open →
- Exercise Ceiling Height Chart by Lifter HeightCeiling height needed for every home gym exercise, keyed to your own height: overhead press, push press, snatch, pull-ups, box... Open →
- Gym Flooring Thickness Chart: Rubber, Foam and Coverage by Room SizeHome gym flooring thickness chart by use case, with weight per square foot, density, rubber versus foam versus turf, stall mat and... Open →
- One Rep Max Percentage Chart and Estimated 1RM TablesThe full one rep max percentage chart: reps to percent of 1RM, the Epley and Brzycki formulas, an estimated 1RM lookup table by... Open →
- Rack Height and Ceiling Clearance ChartPower rack height chart by category and by model, the ceiling clearance each one needs, assembly clearance, pull-up and overhead... Open →
- Rack Upright Hole Spacing and Steel Gauge ChartPower rack hole spacing, hole diameter, upright tube size and steel gauge in one chart: 1 in vs 2 in vs Westside spacing, 5/8 in vs... Open →
- Weight Plate Chart: Diameters, Thickness and Total Bar WeightWeight plate chart with kg and lb plate weights, bumper and iron plate diameters, thickness by denomination, the IWF colour... Open →
Gear comparisons
Every roundup is split into beginner, intermediate and expert picks rather than one flat list, because that is how people actually buy. The anchor purchase in most builds is the rack, and the REP PR-1100 at under $500 is the one that shows up most often once the budget clears $300. If you already know your ceiling is tight, start from racks for low ceilings instead.
- American Floor Mats 3/8 Inch Rubber Roll Review: Enough for Dropping?An American Floor Mats 3/8 inch rubber roll review covering vulcanized rubber construction, coverage per roll, the 5 year warranty... Open →
- Best Adjustable Dumbbells in 2026The best adjustable dumbbells for most home gyms are the BowFlex SelectTech 552 (under $500, 5 to 52.5 lb). Plus the under-$250... Open →
- Best Barbell for a Home Gym in 2026The best barbells compared by shaft diameter, tensile strength, bushings versus bearings, knurl and coating. Picks for first... Open →
- Best Cable Machine for a Home Gym: Real Price TiersThe best cable machine for a home gym: Body-Solid PFT100 (under $2,500) as a true functional trainer, an under-$500 rack... Open →
- Best Folding Squat Rack: Wall Mounted Racks ComparedFolding wall mounted squat racks compared by rated capacity, folded depth and ceiling clearance, plus how to anchor one into studs... Open →
- Best Garage Gym Heater: 120V, 240V and Gas ComparedGarage gym heaters compared by real output. Why every plug-in heater is 1,500 W, what 240 V and gas unit heaters actually deliver... Open →
- Best Home Gym Flooring in 2026Home gym flooring compared by thickness, drop protection, coverage and floor weight. Stall mats, EVA foam and rubber roll, with the... Open →
- Best Home Gym for Small Spaces: Footprint FirstSmall space home gym gear compared by real footprint. Folding wall racks, adjustable dumbbells and space savers for apartments... Open →
- Best Home Gym Under $2,000: 3 Complete BuildsThree complete home gym builds under $800, $1,400 and $2,000, with rack, barbell, plates, bench and flooring, real running totals... Open →
All 32 gear roundups, or the head to head comparisons if you are stuck between two options such as bumper plates and iron.
How this site works
Everything here is compiled from published manufacturer specifications, stated load ratings and verified owner reviews. We do not test equipment in person, and we do not pretend to. Where a figure genuinely varies between manufacturers, these pages give a range and say so rather than inventing precision, and where a product is not sold on Amazon, the link is a search rather than a fake product page.
Rack anchoring, floor loading and spotting carry real injury and property risk. A published load rating is the manufacturer's own figure under their own test conditions, not a safety margin you should plan to spend. Follow the manufacturer's rated capacity and installation instructions, which govern, verify slab thickness before drilling, and get a licensed structural engineer or contractor involved before loading a floor you are unsure about. This is researched guidance, not coaching and not structural engineering advice.
More about how we compile this, how the site is funded, or get in touch if a specification here does not match what a manufacturer currently publishes.